Curved Text
Curved Text
Here we have a very simple, quick and easy tutorial on how to make curved text in Photoshop. This feature we know is a must for some people as they want their name or company name on a logo but can’t seem to get it to fit. So without any fuss, here are some simple steps to making the simple curved text on Photoshop.

Step One – Getting Started
What you want to do first is open Photoshop of course, after that easy task is complete the fun can begin. What you want to do now is grab yourself an awesome HD image, anyone you want. If you can’t decide then remember we have plenty of great wallpapers for you to choose from here at high resolution HD wallpapers.
Step Two – Ellipse Tool
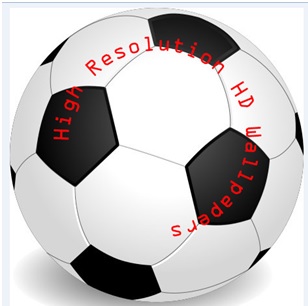
As you can see in this tutorial we opted for a generic black and white football, the reason being that the curved text looks great on a curved object. After selecting your image and inserting it into Photoshop you need to locate the Ellipse Tool from your toolbar.
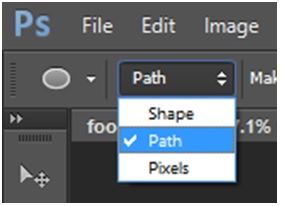
Step Three – Path Selection
Once the Ellipse tool has been selected you now need to go ahead and make the path selection. In order to do this you will need to locate your toolbar, after this simply click on the dropdown menu and then select the path.
Step Four – Perfect Circle
Right now that you have selected the Ellipse tool and selected your path from the dropdowns, this is where we get to draw your shape. The shape we are using, and the shape we strongly advise you using is of course a circle. The trouble with drawing a circle is that majority of the time it’s never perfectly circle. However we have a tip for you. By holding down the shift key at the same time as dragging your circle you will make a perfect circle every single time.
Step Five – Changing to Text
Now that we have your image on Photoshop all ready, with your path selected and perfect circle drawn, this is when and where you get to add your text. To do this you simply need to click onto the Text tool on the toolbar, it simply looks like the letter (T). After doing this you now need to locate your path on your perfect circle, and when the cursor changes to a curved line, then and only then are you allowed to click.
Step Six – Adding your Text
This is now the stage where you get to add your very own personal text. After your cursor changes to a curved line as mentioned in step five you can add text, and as you can see we have opted for our company name ‘High Resolution HD Wallpapers’ and decided to change our font colour to red. Also remember that during this stage you can play around with various font styles and sizes, colours and alignments.